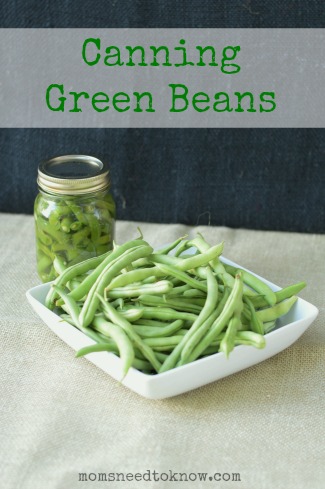
When my kids were little, we used to have canned green beans regularly. After all, you just had to dump them in a pot, heat them, add a little salt and pepper, and they were done. As I learned more about food and nutrition, however, I became more interested in growing and canning my own food. Not only is it much cheaper and more healthy, but the process of canning green beans isn't nearly as difficult as I thought--it's much easier for me than learning how to grow green beans was!
When I can my own green beans, I often use the pressure canning method. Pressure canning uses higher temperatures and works faster than water bath canning, and it is ideal for canning any low-acid foods, such as when you are canning green beans. Green beans have a much lower acidity level than tomatoes do, for example, so the high temperature is needed to keep the germs and bacteria at bay.
While the process of canning green beans might feel a little clunky at first, once you practice canning green beans a time or two, it will quickly become second nature. Then, you will be able to store your beans properly so you can enjoy fresh green beans all winter long, without worrying about any added ingredients or the BPA in the lining of store-bought cans of green beans. You'll still have plenty of time let over to pick out your flowers for Fall gardening, and there's also the fact that canning green beans yourself gives you green beans that taste way better too!

Ingredients
- Green Beans
- Canning Salt
- Water
- Jars lids, and rings
- Pressure Canner
Instructions
- Before beginning, check your pressure canner for dents, dings, and pinholes. Check all valves for obstruction. If you are using a ceramic or glass top stove, read your instruction manual and verify that it is safe to use with a pressure canner.
- Fit canner with rack and add 3” of water and bring to a simmer.
- Clean your jars, lids, and rings with warm, soapy water. Allow rings to dry. Place jars and lids in a saucepan of simmering water and continue simmering until you are ready to use them.
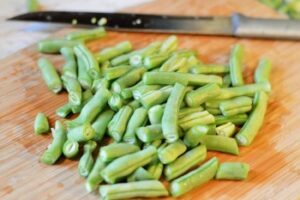
- Wash green beans thoroughly. Snap ends and remove ‘string’. Cut or break into evenly sized pieces.

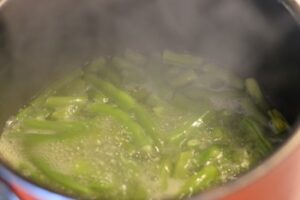
- Submerge beans into a pot of boiling water. Boil for 5 minutes.
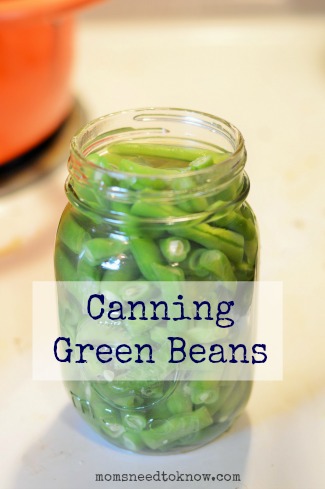
- Fill the heated jars with green beans and pour the cooking liquid over the beans. Leave a 1” headspace. Slide a rubber or plastic spatula around the edges to remove all air bubbles, and fill with additional liquid if necessary.
- If you’d like to add salt, add ½ teaspoon per pint or 1 teaspoon per quart.
- Wipe the rims of the jars and affix warm lids. Screw the rings on tightly.
- Set jars into the pressure canner. Once full, lock the lid onto place. Raise the heat and bring to a boil. Once steam has escaped for 10 minutes, place weight on the vent and begin timing. The pressure should remain at 10 lbs for 20 minutes (pints) or 25 minutes (quarts). Turn off heat source.
- Allow canner to return to zero pressure, remove gauge, and let cool for 10 minutes before opening lid. Let canner cool for 10 more minutes. Remove jars and set on a towel.
- These will need to cool 12-24 hours before checking the seal. If a jar hasn’t sealed, refrigerate for immediate use.