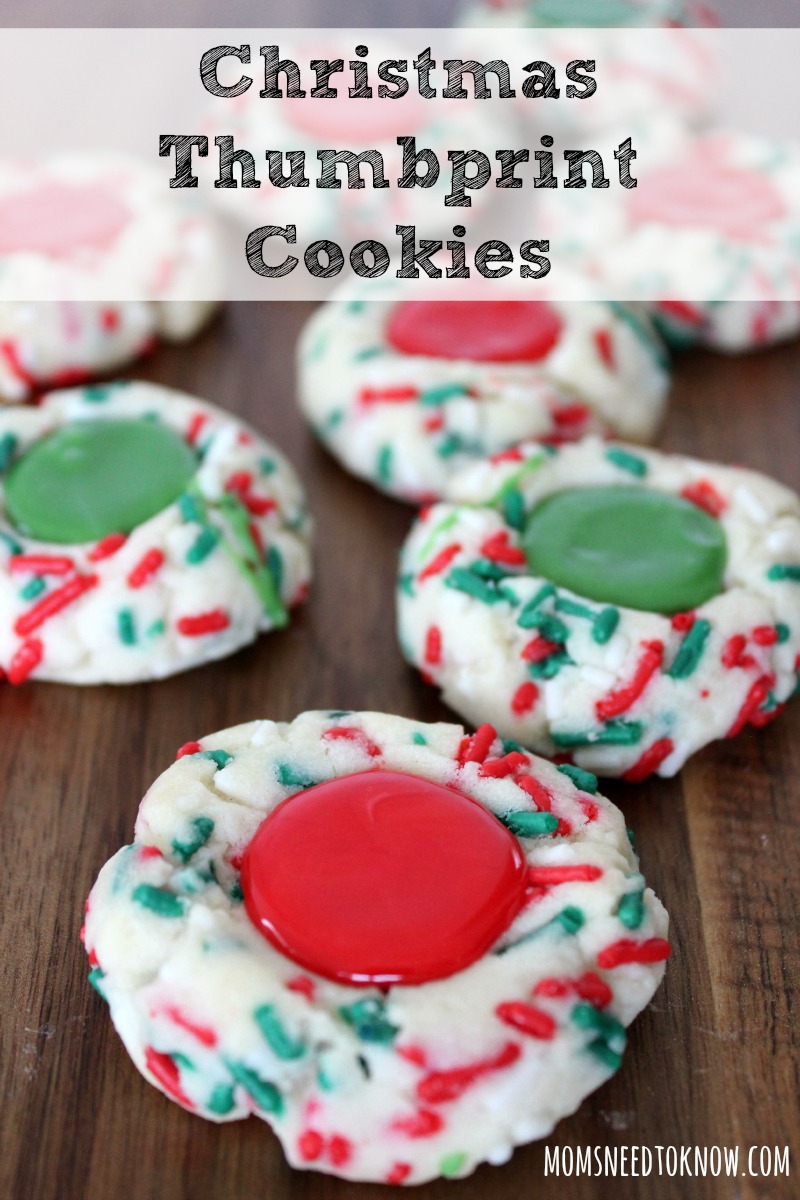
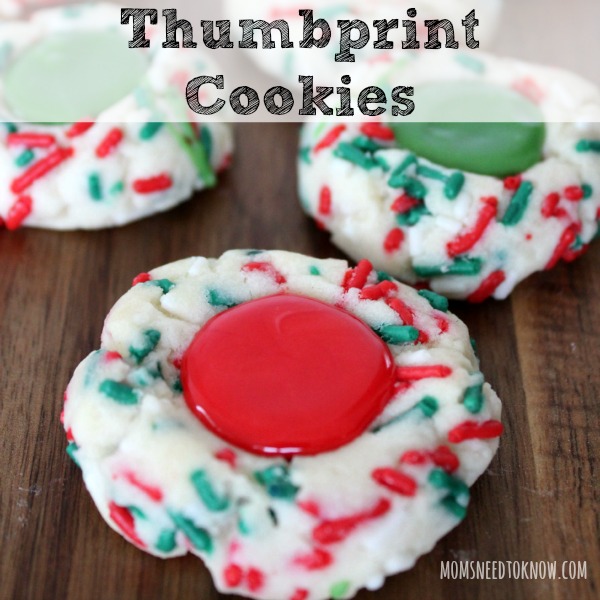
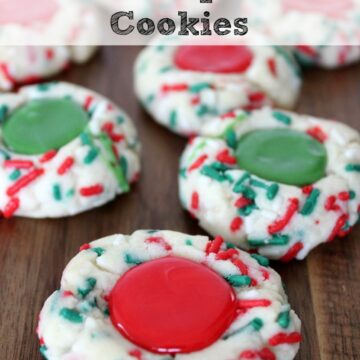
My children look forward every year to helping me make these Christmas Thumbprint Cookies because instead of fruit, we use icing in the middle!
It seems like my oven is going non-stop these days with all of the Christmas cookies that I have been making! I usually make 4 or 5 different ones each year (including my oreo truffles recipe, which I pretty much make all year long).
Usually, I like to make more fun and "different" cookies for Christmas, but sometimes you just need a simple cookie recipe to round out your cookie trays (either for variety or for color) and these easy Christmas Thumbprint cookies do just that!
(I assume that I don't need to tell you that they can really be for any holiday any time of the year - just change the colors of the sprinkles and the food coloring for the icing!)

Just like my Cherry Thumbprint Cookie recipe, these Christmas Thumbprint cookies has a high butter content, so it is absolutely essential that you either use parchment paper or a silicone baking mat when you are baking them. If you don't, I can almost guarantee you that your cookies will spread too much and you won't be happy with the results!
I like to use a cookie scoop when I am making almost any type of "drop cookie", because it helps to keep the cookies all the same size (and also because I have taught my children how my technique - we scoop the dough and then "drag" the scoop along the sides of the bowl) and they just love to help me make cookies!
To get the best results with these Christmas thumbprint cookies:
- Use a cookie scoop to ensure that they are all the same size. This should help make sure that they all cook at the same rate
- Use parchment paper! I can't emphasize this enough. Be sure to read my "Why You Should Use Parchment Paper For Baking" post if you need more convincing.
- Chill your cookie dough before baking. The biggest problem with cookies with a high butter content is that they like to spread. By chilling the dough AND using parchment paper, you can easily control the spread and end up with beautiful cookies!
Ok - got it? Scoop, parchment paper and chill!
Scroll down for the recipe!
Easy Christmas Thumbprint Cookies
Ingredients
For The Cookies
- Red and Green Sprinkles
- 1 cup butter softened
- 1 cup powdered sugar
- 2 teaspoon vanilla extract
- 2 ½ cup flour
For the Icing Filling
- 2 cups powdered sugar
- 2 tablespoon light corn syrup
- ½ teaspoon vanilla extract
- 2-3 tablespoon milk
- Red and Green Food Coloring
Instructions
- Preheat the oven to 350F.
- Line a cookie sheet with parchment paper.
- Cream together butter, powdered sugar and vanilla until fluffy.
- Slowly add the flour until completely incorporated and the dough holds together when pressed.
- Use a cookie scoop to scoop out evenly sized cookies
- Roll each into a round ball.
- Roll the ball in the sprinkles, pressing down to make the sprinkles stick.
- Place on prepared cookie sheet about 2" apart.
- With your thumb, make a small indentation on the top of each cookie.
- Bake for 10 minutes.
- Remove from the oven and immediately press on each cookie to make a the indentation deeper (be careful not to crack the sides).
- Leave on baking sheet to cool completely.
- Combine the powdered sugar, corn syrup, vanilla and 2 tablespoon of the milk.
- Mix and add more milk if needed to get right consistency.
- Divide the icing into 2 bowls.
- Add red food coloring to one and green food coloring to the other.
- Spoon icing into the center of each cookie and allow to set.